
Whew, what a whirlwind the last four months have been. I can’t believe it has essentially been 1/3 of a year since I last made a blog post! It’s been really difficult to find the time to put into documenting the progress on my cars lately, let alone finding all the time needed to actually work on them. But when I really think about it, I have gotten a fair amount of work done since my last update. Since I have so much ground to cover, I am going to split this update into three separate posts: one about the coupe, one about the hatch, and one about my first S13 BBQ that I hosted in early July. Let’s dive in!
So, the coupe. Back in March, I had just brought the car home from winter storage at my mom’s house. Shortly after I shared that update, we took a family trip to Florida which was a lot of fun. My daughter Hattie also turned 8 years old just after we got home which is very hard to believe. Time is flying!

The first thing I did when I got home was sell the pair of power East Bear mirrors I had sourced in order to buy back a pair of black manual ones I had owned previously. I sold this black set to a friend in Chicago way back in 2016 or so and he never used them. The red pair I had was decent enough, but they had a few cracks that needed to be repaired. Since the coupe never had power mirrors anyway, I figured it made sense to sell them and get my cleaner, manual black pair back. I am glad it worked out!


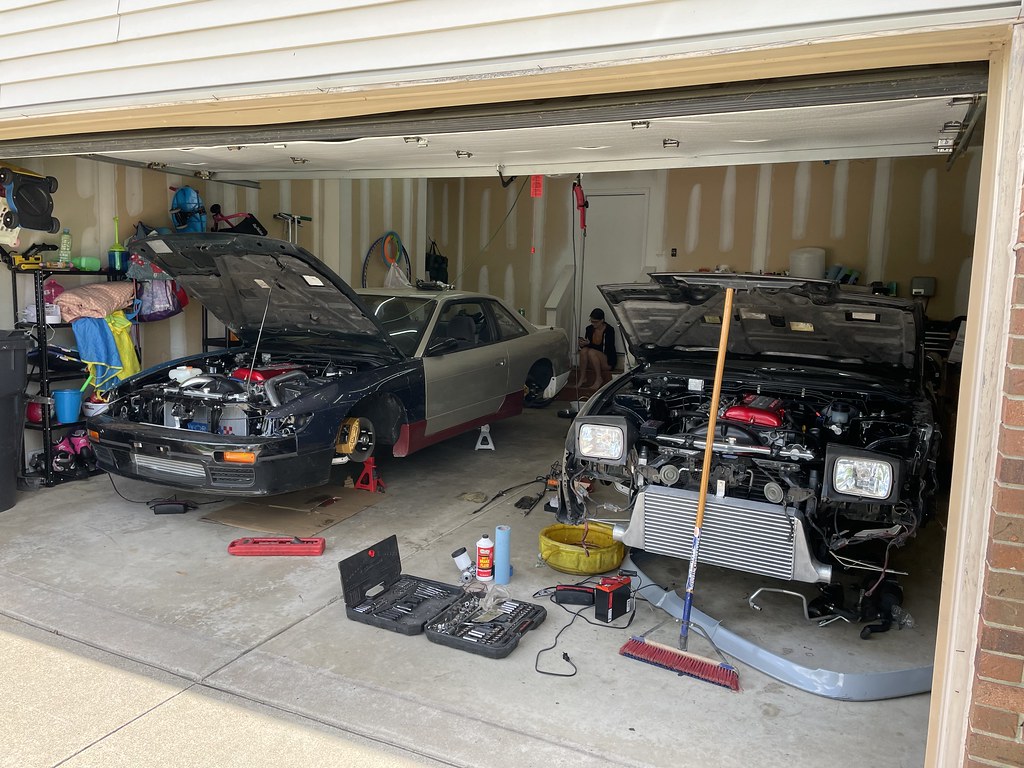
In early April, I finally decided to commit to converting the car to five lug. It took me a few weeks to sell my Work Equip 40s, but eventually they sold and ended up on a really cool Miata down in Austin, Texas. Shoutout to my friend Allen for dismounting the tires for me. With the car on jack stands and the wheels gone, I started removing all of the suspension components I didn’t intend to use with the new setup. This was a little bit silly since I had just installed all of those parts in 2020 when I built the car and had put about 80 street miles on all of it, but that’s just the way it goes for me sometimes. Fortunately everything sold fast and I was able to order the new parts for the conversion.


Once I saw the car mocked up on my 17″ TE37s, I knew I had made the right choice. I spent most of the month of April sourcing the parts I needed for the conversion. I ended up essentially mirroring the setup on my hatch: NISMO S14 lower control arms, S14 knuckles, DIF knuckle bolt adapters, KTS S14 roll center outer tie rods, OEM S14 hubs and wheel bearings all around, and some new OEM hardware to finish things off.


As for the brakes, I went with Parts Shop Max Z32 calipers this time around as the OEM ones are becoming more and more difficult to find for a reasonable price. I didn’t want to deal with rebuilding and powder coating them either, so this option made a lot of sense. I didn’t love the gold color at first, but it is growing on me a bit. I went with Stoptech Street pads and stainless steel brake lines as I have had good luck with those over the years. I utilized the Z32 rear e-brake assemblies and cables that I held onto from Tim’s part out and picked up a GK Tech cable adapter bracket to round out the brake conversion.

The front suspension went together without any major snags. One tip to note- you can use S14 ABS front wheel bearings & five lug hubs even if your car does not have ABS. This saves you a lot of cash as the non-ABS version is much more expensive. It felt super cool to bolt up one of my TE37s and step back to see the car with a five lug setup and 17″ wheels for the first time.
When it came time to do the rear suspension and brakes, I ended up taking a day off of work strictly to work on my cars. I thought this might help with my motivation a bit since I had been having a hard time finding enough energy and free time to work out in the garage. And of course, I ended up hitting a few snags that day. The first issue was the GK Tech e-brake cable bracket. Once installed, the cables contacted the driveshaft. I ended up having to heat it up and bend it to get it to clear. While it wasn’t a huge problem to solve, it was still pretty annoying for something touted as a bolt-on solution. A few people told me they had the same issue, and others recommended the Street Faction bracket instead. Just a tip for anyone out there planning to do this conversion!


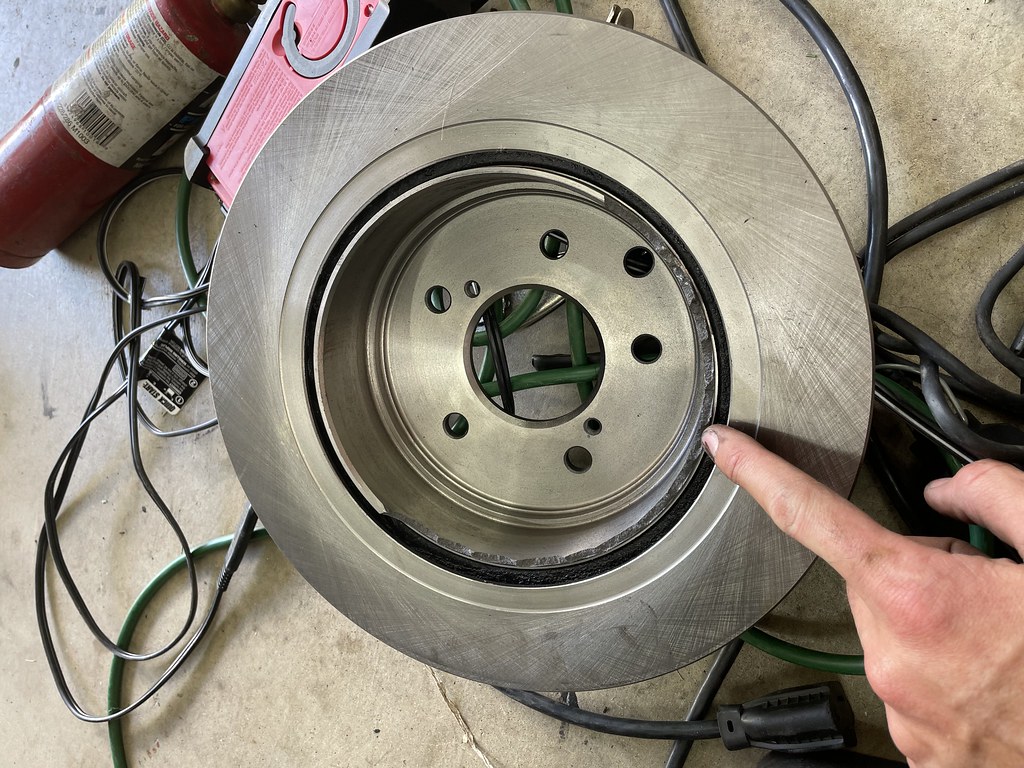
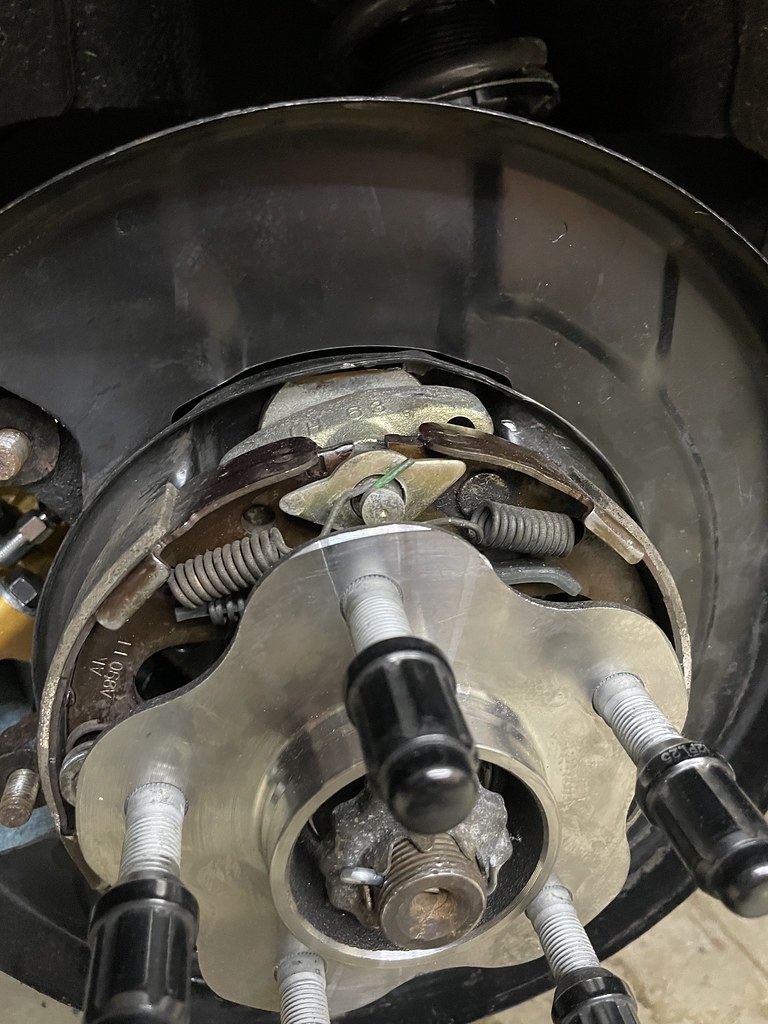
At last, after using my trusty press to assemble the rear bearings and hubs, I had the car on the ground and ready for a test drive. When I attempted to pull the car forward, the car made a strange noise and wouldn’t move. I was pretty baffled by this, but decided to come back to it the next day. When I took the rear wheels off, I found that the inner lip of my brake rotor had shattered on one side. There were small pieces of brake rotor in the drum assemblies and on the ground. Very strange! As it turns out, the Z32 rear drum assemblies on my coupe were different than the ones on my hatch. I can’t remember which was NA and which was turbo unfortunately, but the ones on the coupe had a crude metal washer/spacer in them to simulate a metal tab the Z32 rear wheel bearings have on them. There’s supposed to be a centering pin that holds the anchor bolt in place on the knuckle, but these spacers did not have that. When I tightened the large nut on the drum assemblies, it twisted the anchor bolt causing it to contact the inside of the brake rotor.
It can be really frustrating when you run into issues with something you’ve already done once before. I thought I knew what I was doing, but I guess that was not the case! However, it was really rewarding to find the solution. I destroyed one of the large nuts on my e-brake assembly when taking it all apart to solve the issue. It was discontinued stateside, but luckily still available in Japan. I stole one from the hatch while it was taken apart so that I didn’t need to wait for the new one to arrive from Japan.


When the replacement brake rotor arrived, I hit all of them with a coat of paint and some templates I made in Illustrator. I like to paint my rotor hats since the temp swings during the winter seem to cause surface rust to form. Sure, I could just spray the whole rotor and let the pad remove the paint, but this just feels a bit less sketchy to me.


Finally, I had the car back on the ground with the brake issue solved. I got to drive it around the block a few times and everything felt really solid! I love the look of the car on the bronze TE37s, I just really want to see this car on 17″ wheels all around. I prefer 17/18 on my hatch, but the OEM aero on Silvias is so subtle that I feel they look better with 17″ wheels front and rear. I’ll figure out a way to run 17s when the time is right, but this works for the time being.

Having my brand new Silvia brick headlights, corner lights, and center grille on my car was driving me nuts. The car is not going to be painted anytime soon and it felt like a waste to have them on the car in this state. I ended up putting them back in their boxes to save until the car is properly painted one day and sourced a used setup to run in the mean time. I got lucky on some really clean corner lenses with good brackets – one from Richard of GTR Garage, and one sourced through YAJ via Jesse Streeter. I found some bricks through an IG contact that had a bit of damage, but all of the mounting brackets themselves are intact. That seller also had a center grill with a good amount of sun fading, but I decided to grab it. Maybe I’ll try to clean it up at some point.


While the brackets are all intact on my temporary bricks, one side is broken on the back of the housing where one of the bulbs goes. The rubber seal and plastic ring are missing, and it looks like the relfective inner housing has water damage as a result. I was able to source all new rubber bulb seals and plastic trim rings from Japan which should help refresh these a lot. I also gave the top of the lenses a fresh coat of SEM Trim Black to make them more presentable. At some point I will need to open up the driver’s side headlight and see if I can repair the damaged reflective housing, but that’s a project for another day!
Finally, a local friend of mine was getting rid of his project and sold me a brand new Silvia corner lens. I have a new pair of these in storage and didn’t really need it, but couldn’t pass it up.

So that just about brings you up to speed with the coupe! Last night I put the car up on stands to swap out my front springs. I ordered shorter, stiffer springs when I got these coilovers knowing the car was going to be very low on 15s, but found that the inside of my wheel was contacting the spring with the 17″ wheels on. I elected to swap out the shorter 10k springs in favor of the standard, longer 8k springs. I am also in the process of finally installing my front fender liners while the car is in the air.

There’s still a weird rotating noise when I drive the car that I haven’t tracked down. I almost wonder if it’s the bearings in the diff since the car has so many miles on it, but I’m just not sure. It’s also still leaking a bit of oil from the rear main seal, but I haven’t had the energy or time to dive into that yet. Aside from those problems and needing an alignment, the car should be ready to log some miles. I haven’t even bothered to insure my cars this year since gas prices are so high and there is some massive construction going on throughout my entire commute to work, but if I can get at least one of the cars road worthy by September I may get it out and enjoy it a bit before the snow flies.

Thanks for popping by to check out the update! Next I’ll share what happened with my hatch between March and July to bring you up to speed on that car. When I step back and think about it, it’s actually a decent amount of stuff! Thanks as always for stopping by.
Damon

Excited to see the updates. Small wheels are fun, but nothing looks better on an S13 than 17s.
Thank you! I did really like the small wheel look, especially with mismatched body panels- but it was time!