It’s amazing how redundant the passing of time can feel sometimes when updating this blog. As I took the hatch to the gas station earlier this week through a sea of snowflakes to fill it up for winter storage, I reflected on this being the 13th time I have marched into the off season as an S13 owner. It’s honestly pretty hard to believe, and while it is repetitive in so many ways, I’ve definitely grown accustomed to it being a part of my life. While the blog posts have been a bit few and far between in 2022, it’s not from a lack of passion or enjoyment for the hobby.
My last post was in late September. As you may recall, it took me quite a while to get my S13s on the road this summer due to a number of reasons, the primary ones being road construction and the cost of gas. Gas prices skyrocketed in the spring right before I would have typically gotten the cars out and it felt irresponsible to spend the additional $1 per gallon on driving them around. Combine that with a hefty dose of road construction on my route to the office, and I simply didn’t feel extremely motivated to get the cars on the road. In the end, I ultimately decided to keep the coupe parked for the summer and enjoy the hatch as much as I could. This saved me some cash on insurance and generally made life a bit less stressful as I only had to worry about keeping one of my cars roadworthy.

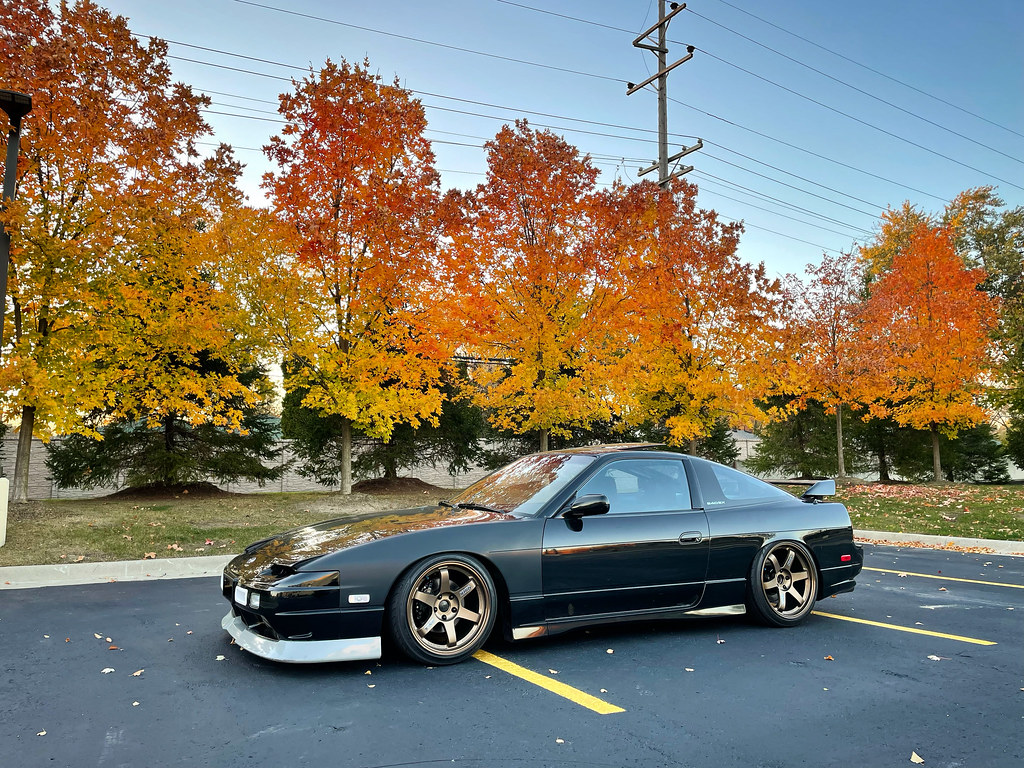
Looking back, I guess the 2022 driving season was a pretty short one. Fortunately though, it doesn’t really feel like it when I think back on it. I officially got the car on the road August 26th, and once it was aligned I pretty much daily drove it until last Thursday, November 10th. In the 11 weeks I had the car out, I managed to put about 2,500 miles on it. I would of course have liked to drive it more, but I’m happy to report that I didn’t have a single issue during that time. We’ve gotten a solid 3″+ of snow last night and throughout the day today here in Michigan, so I definitely pushed driving it as long as I could.

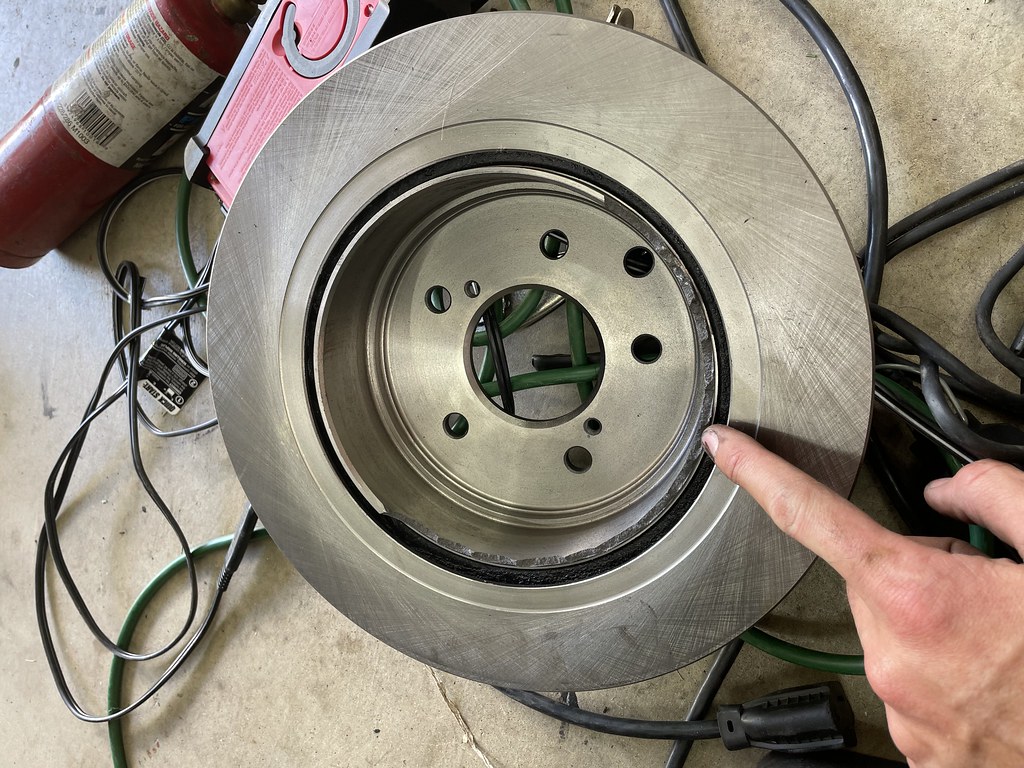
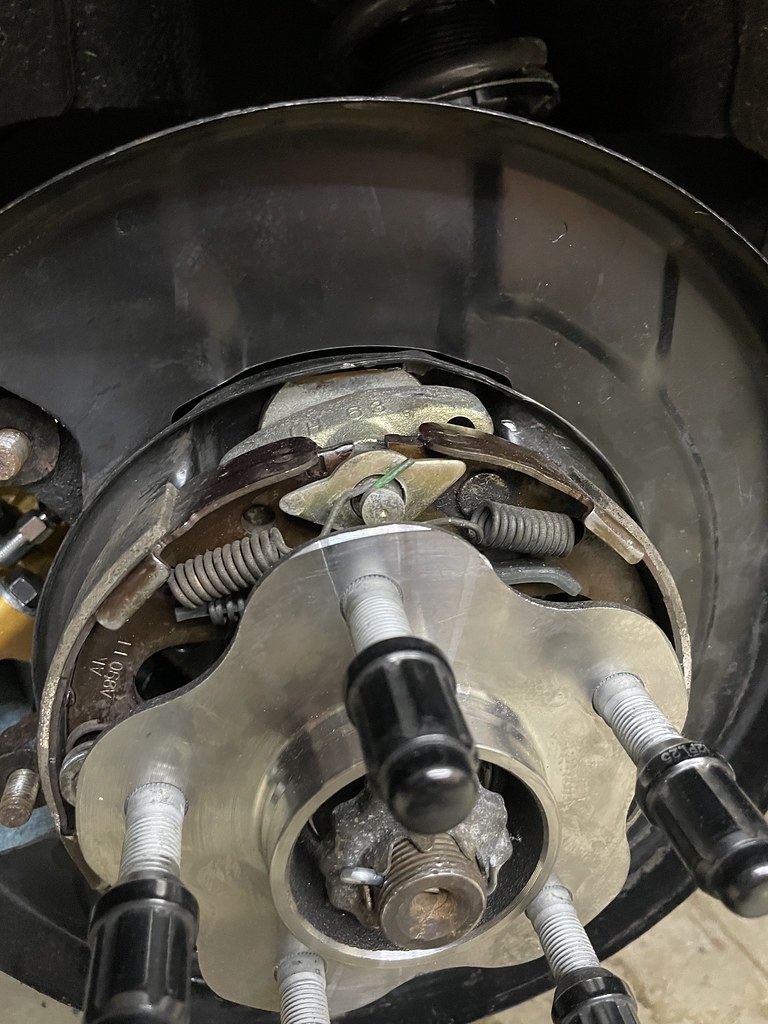
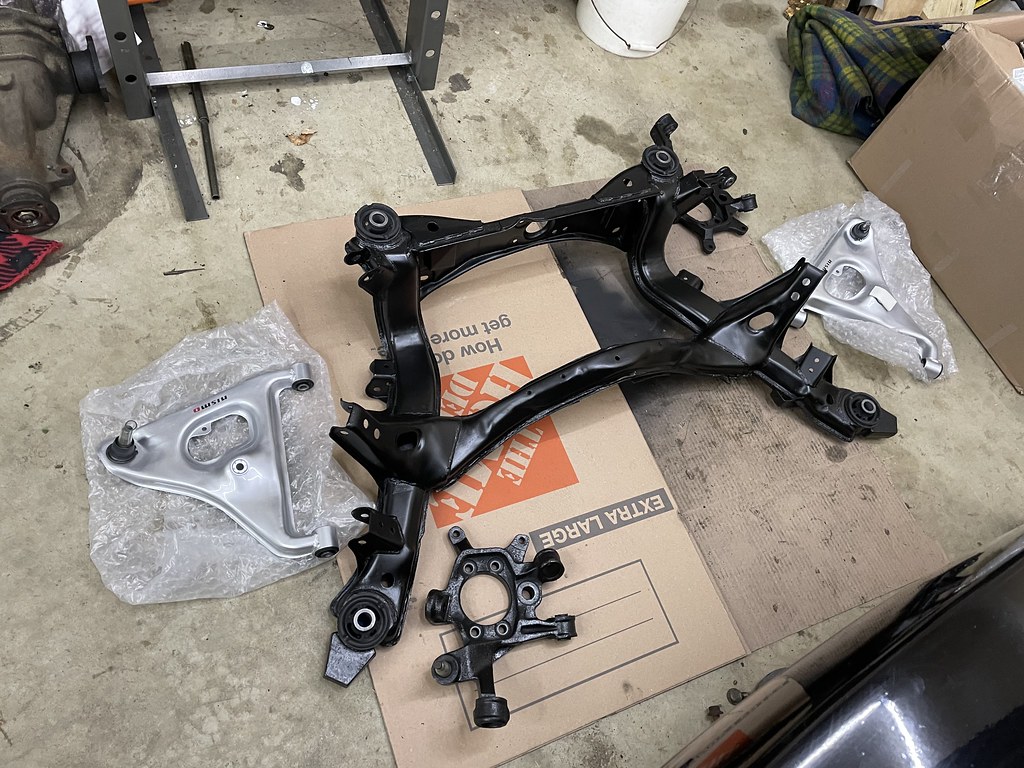
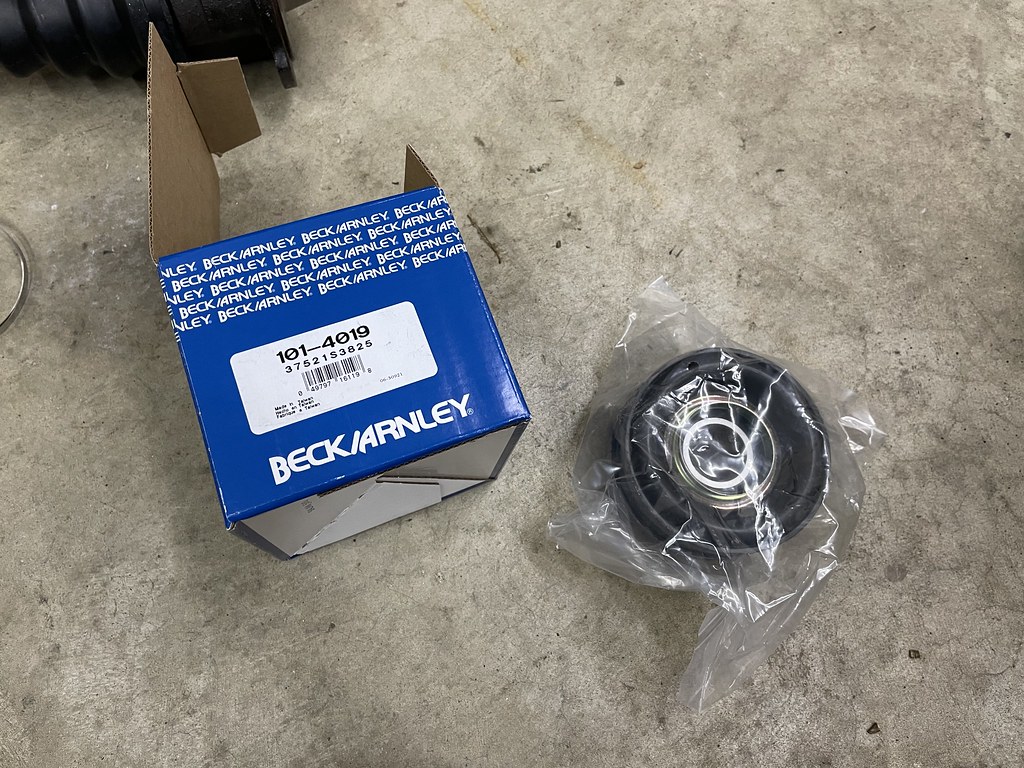
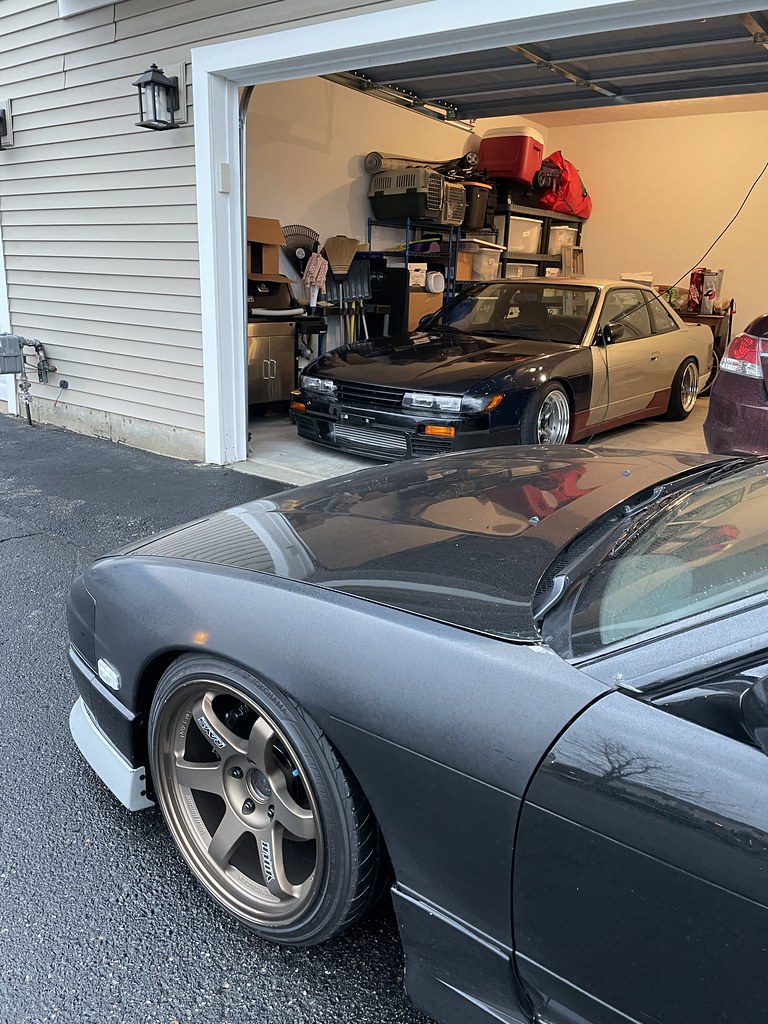
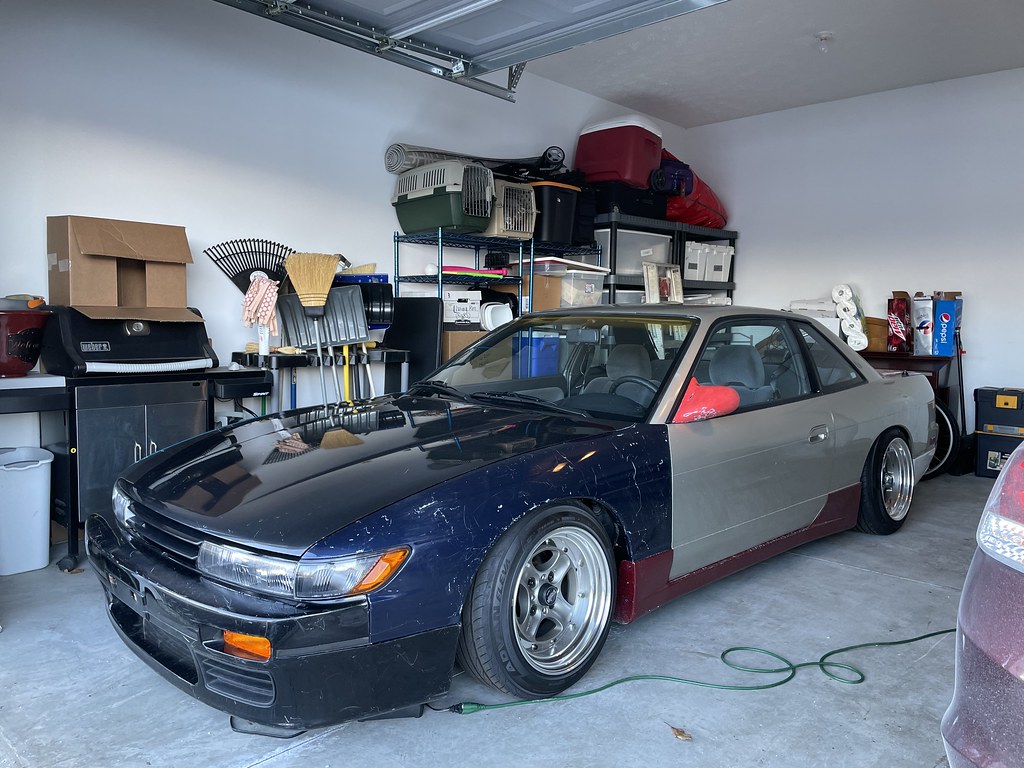
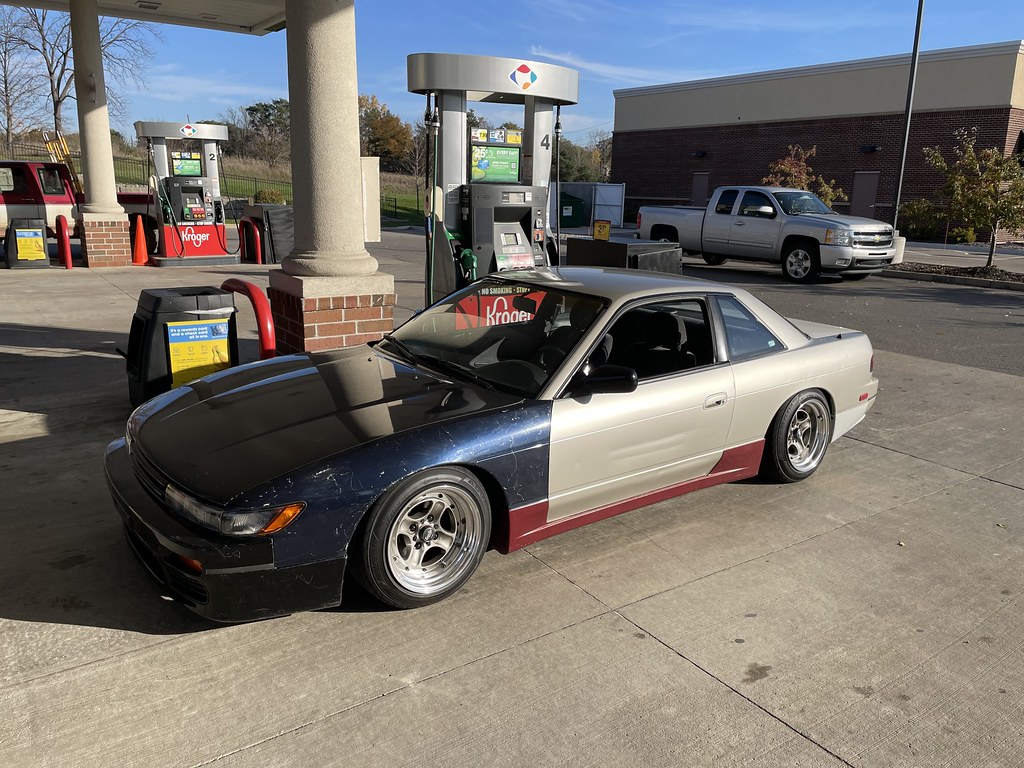
To backtrack a bit, my replacement rear 5 lug hubs and bearings for the coupe arrived at the end of September. This allowed me to put the car back together and get it on the ground once again. I really can’t stand the look of the coupe on 17/18 wheels and tires. I love the look on coupes with bigger aftermarket aero, but the rake and stance just do not sit right with me at the moment. Most people seem to prefer the 15″ Equip 40s, and I completely understand this sentiment. They simply worked better with the current multicolored state of the car. However, I have faith in the final vision and I’m going to keep marching towards that end goal. If history has taught me anything, it will be worth it in the end.


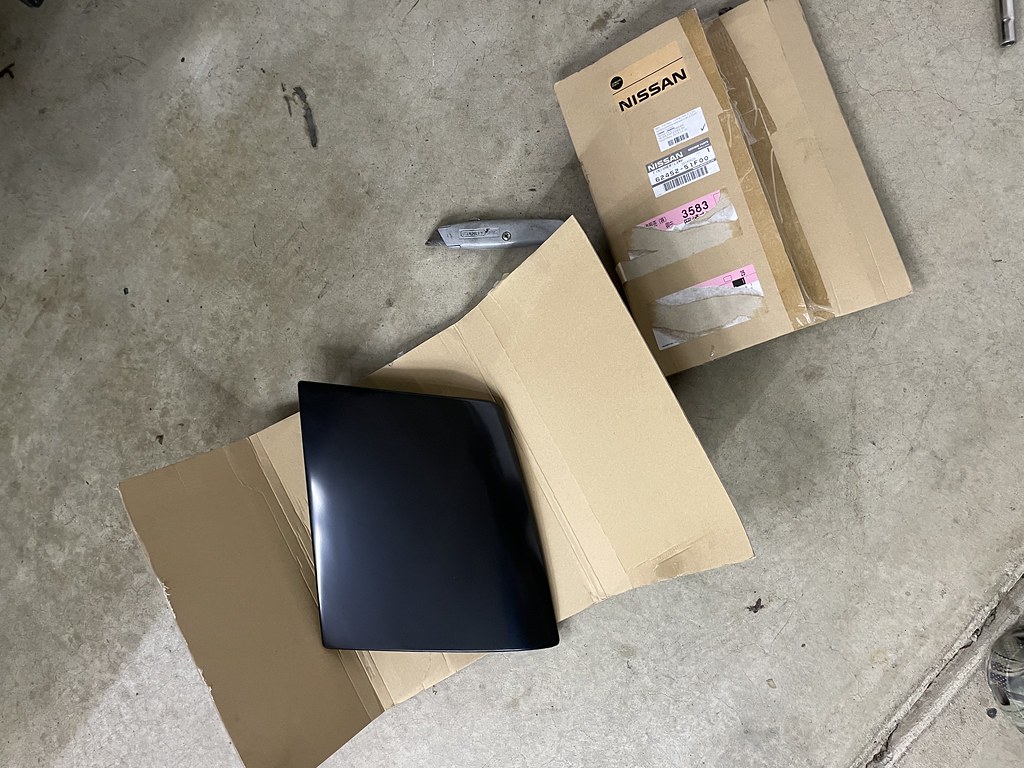
Around this same time, I decided to try to source a piece I have wanted for the coupe for a while now. The S13 Silvia in Japan came with a carpet trim panel that mounts to the inside of the trunk lid, while its USDM 240SX counterpart did not. I’ve always thought this was a piece that would be cool to own, but it’s pretty hard to track them down. Fortunately, I found a smashed up trunk lid on Yahoo! Auctions Japan that still had the carpet panel installed. Jordan from Tweed Auto Garage was able to buy the trunk, remove the panel, and ship it to the states for me. A lot of importers would not have wanted to deal with this, so I am really grateful Jordan was up for it. I highly recommend him for importing parts from Japan, especially if your request may be slightly unconventional. The panel arrived safely and I was able to clip it into place. Sadly, one clip was missing from the trunk. I think these are long discontinued, but if I am able to find anything I will definitely share it here.

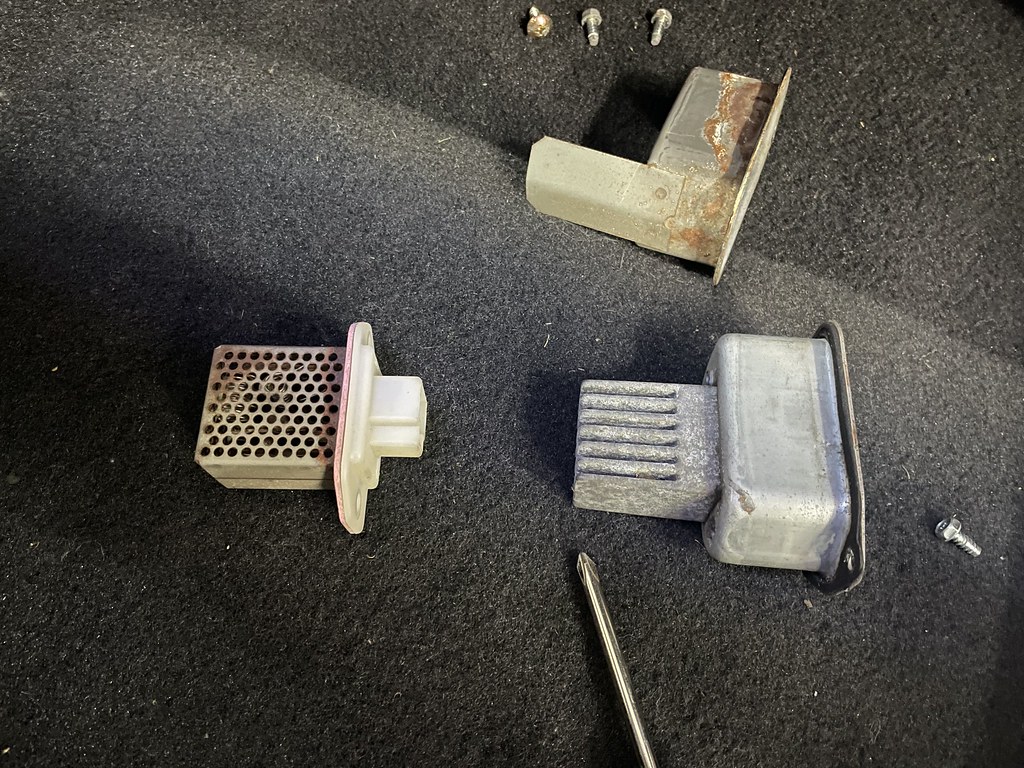
I did have a few packages arrive in the last couple months, the first being from trusty RHD Japan. This order included a GReddy oil filter sandwich plate to install the sensors for my Defi gauges, the bolts needed to install my Bride Zieg II in the hatch, and a pair of Cusco solid engine mounts (more on those a bit later in this post.

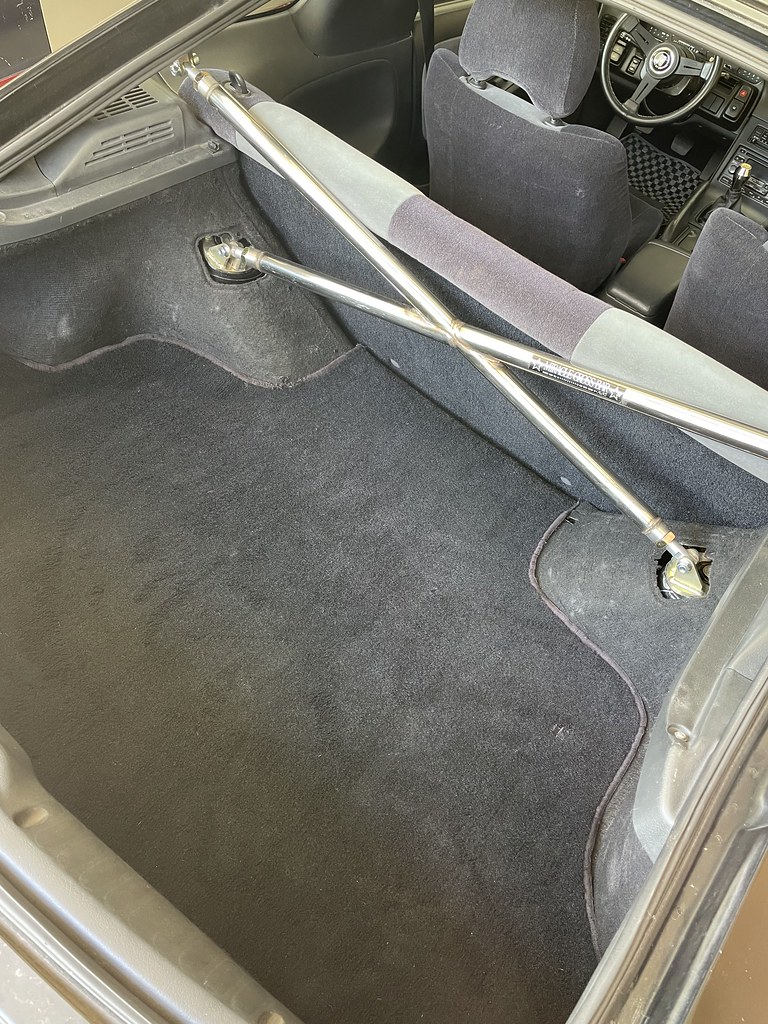
I don’t think I took any photos when I actually completed the installation (which is hard for me to believe,) but I ‘ve really been enjoying having a Bride Zieg II in the hatch again. It’s definitely the most comfortable seat I have ever owned, and I really missed the headroom and overall position of a bucket seat. Climbing in and out can be an annoyance sometimes, but it just feels right as far as driving an S13 goes. I think I may try to add one to the coupe someday as well to keep the driving experiences in line between the two cars. The steering wheel hub could definitely use an extension so that my arms aren’t as stretched out, so that’s probably another thing I’ll try to add to the mix this winter.

The next package was also from RHD Japan. This one included two pairs of OEM Nissan S13 fender braces that I used to replace my aftermarket Auto Collect Storm fender braces. While the Storm braces are beefier and a great product, I couldn’t resist passing up the OEM ones when I found out they were still available. I also picked up a NISMO oil filter for service on the hatch during the off season.

Finally, I received a small order from Courtesy Nissan that included some hardware for the fender braces and two components for the rear wiper assembly- the rubber seal that goes in the hatch itself, and the plastic cap that covers the nut on the wiper arm. I still need to go back and finish the rear wiper install, so it’ll be nice to have fresh components when I do that.

Back to the coupe for a minute- I elected to install my pair of Project Kics 11mm spacers on the front to keep the wheels from rubbing the front springs. I have the same suspension setup on my hatch, so I am not sure why I am having this issue… but I like the look with the spacers a lot. I’ll probably keep these in place for whatever setup I end up with on the car next season.

The month of October marked four years since I purchased my coupe as a rolling shell. If you told me I would put about 100 miles on an S13 over a 4 years span ten years ago, I would have been pretty disappointed in myself- but life is a lot different at 36 than it was at 26. I know I said it this year, but I really hope to spend time putting miles on the coupe and enjoying it in 2023 once the wheel and tire setup is sorted out. I am absolutely looking forward to it!

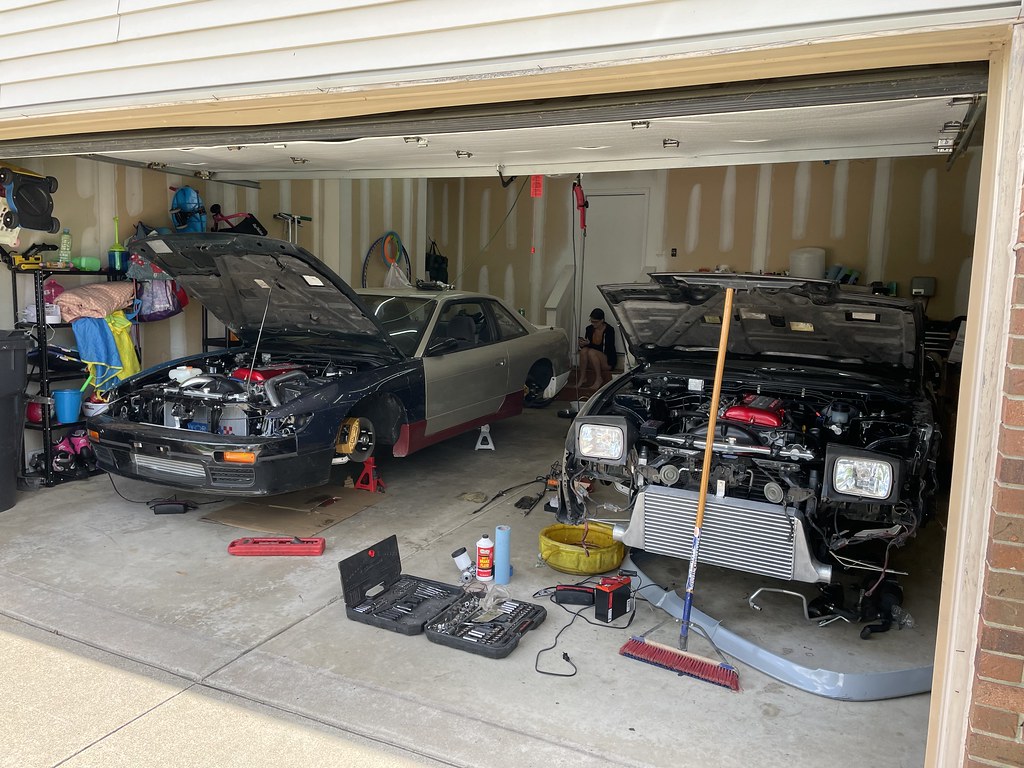
By late October, I took the coupe over to my mom’s house for winter storage. It’s so nice to have the option to keep the car safe with family and free up a spot in our garage for Alicia to park inside and out of the snow during the winter months. My list for the winter is much shorter for the coupe than the hatch, but I do have a few things I would like to address. They’ll likely have to wait until the spring since I won’t really be able to work on it much at the storage location, but I’ll get it sorted out eventually.

My friend Frankie from Faction Motorsports reached out to me about the new S13 SR20DET throttle cable bracket he designed and offered to send me two of them to try out. After taking entirely too long to finally install one of them, I finally got around to it and was really impressed with the results. I’ve had a modified OEM bracket on both cars for several years and it always kind of bothered me, so this was definitely a welcome change. Check out the link here to snag one- it’s definitely worth it!
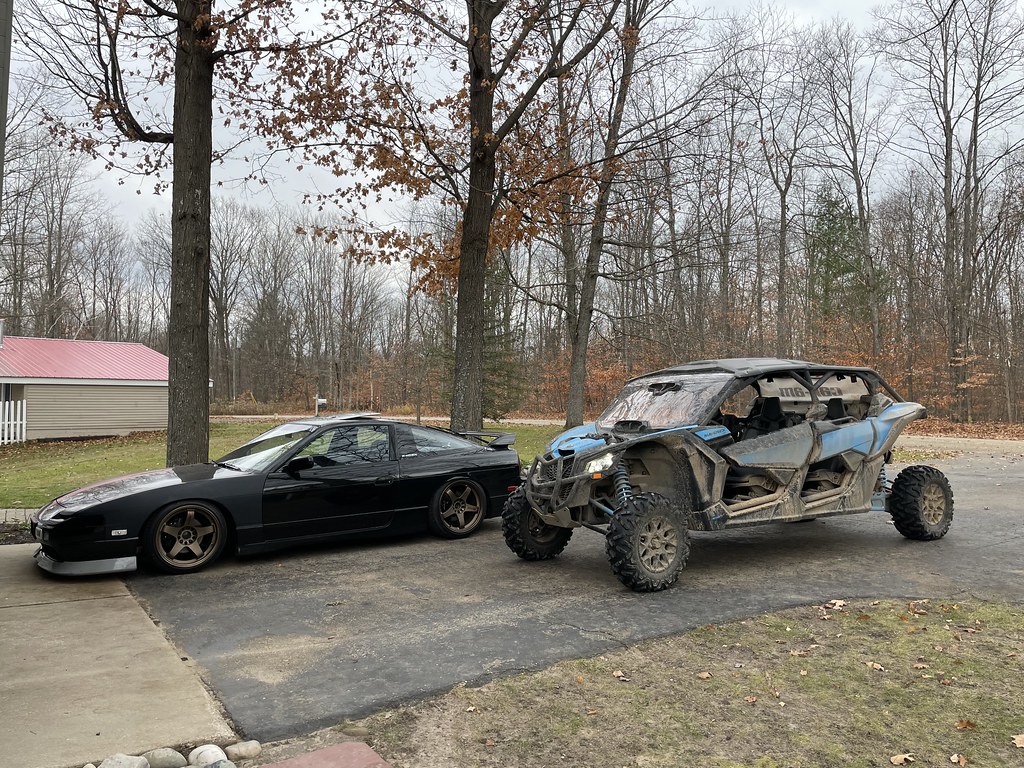
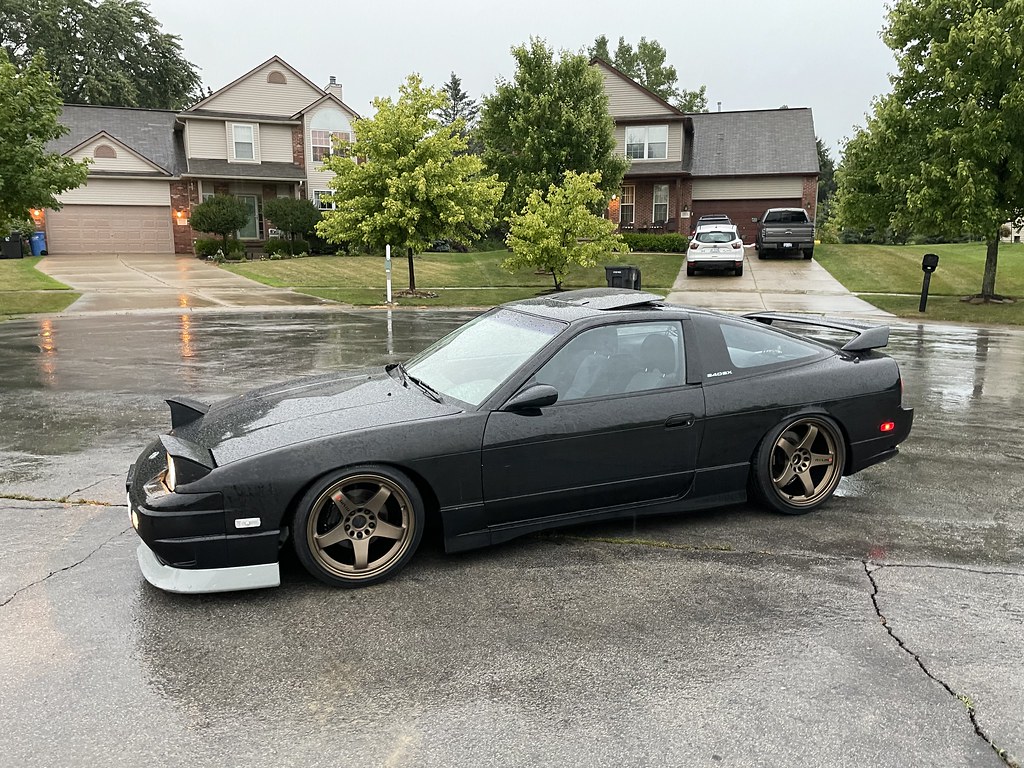
During the first weekend in November, Alicia and I dropped the girls off with family for the weekend and drove the hatch a few hours North to the family lake house for our last trail riding trip of the season before the snow falls. Believe it or not, this was the first time I had ever taken the hatch to the lake house, and also the first road trip we have taken in it since Final Bout Gallery in 2019. Despite being a bit nervous, the car was perfect for the whole trip- even in heavy rains. That weekend marked the 14th anniversary of buying my hatch, which was a very cool milestone that also made me feel really old. I’m so thankful that I have been fortunate enough to enjoy this car for so long.

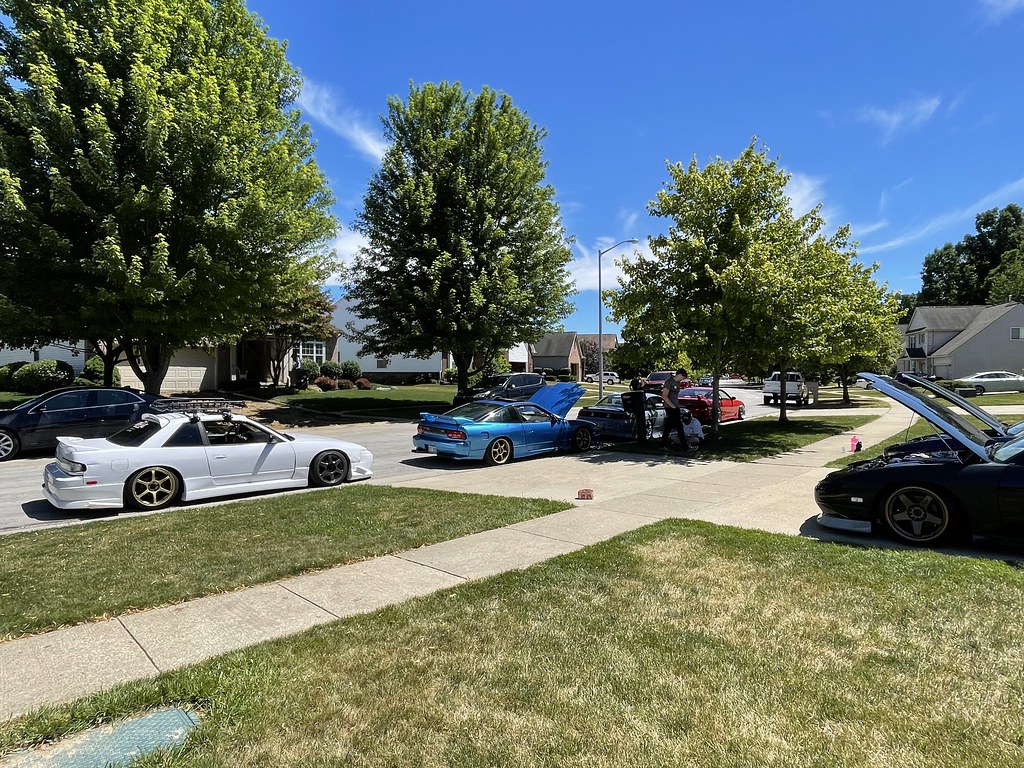
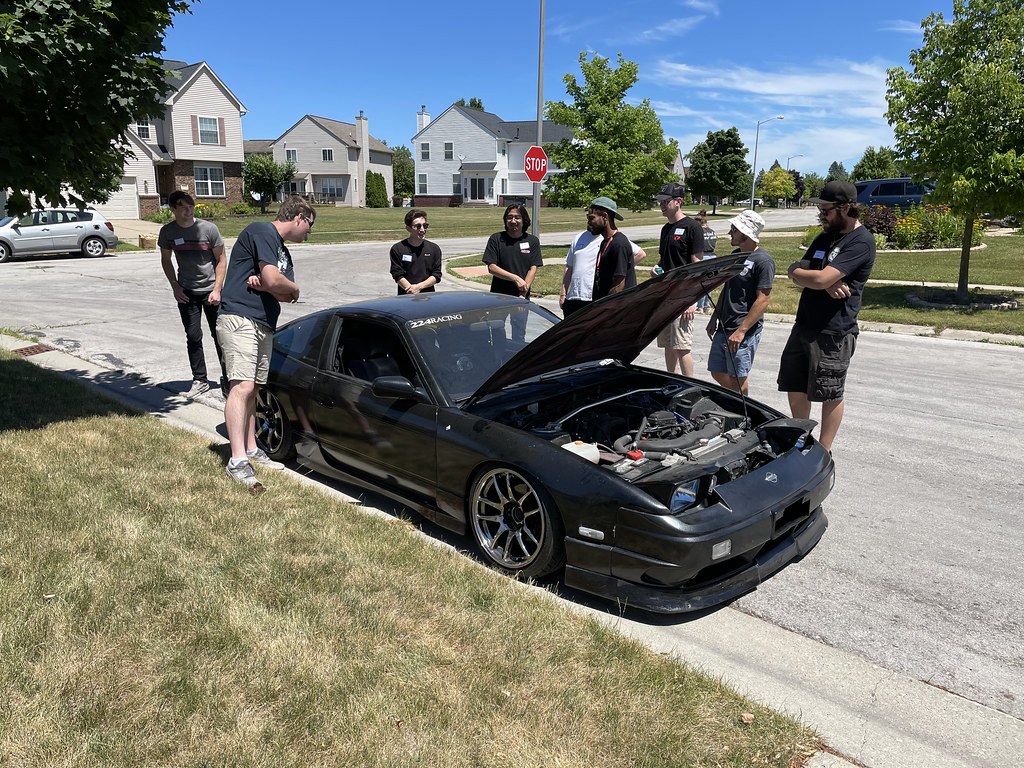
Fall was strangely warm this year, which almost felt like being rewarded for waiting so long to get my car out. However, last Thursday was the final day in the 60s and the temps began to drop off harshly by the weekend. My friends Nick, LA, Mel (and his family,) Matt, and Simba traveled to my house from Chicago to hang out and watch the Lions vs Bears game last weekend which was a blast. Since I haven’t been to US Air in a few years, it meant I hadn’t really seen these guys either- so it was awesome to be reunited again. I definitely want to take one of the cars to Chicago next summer (and maybe even Shawano if I can stand it) to see all the people I have missed over the last few years.


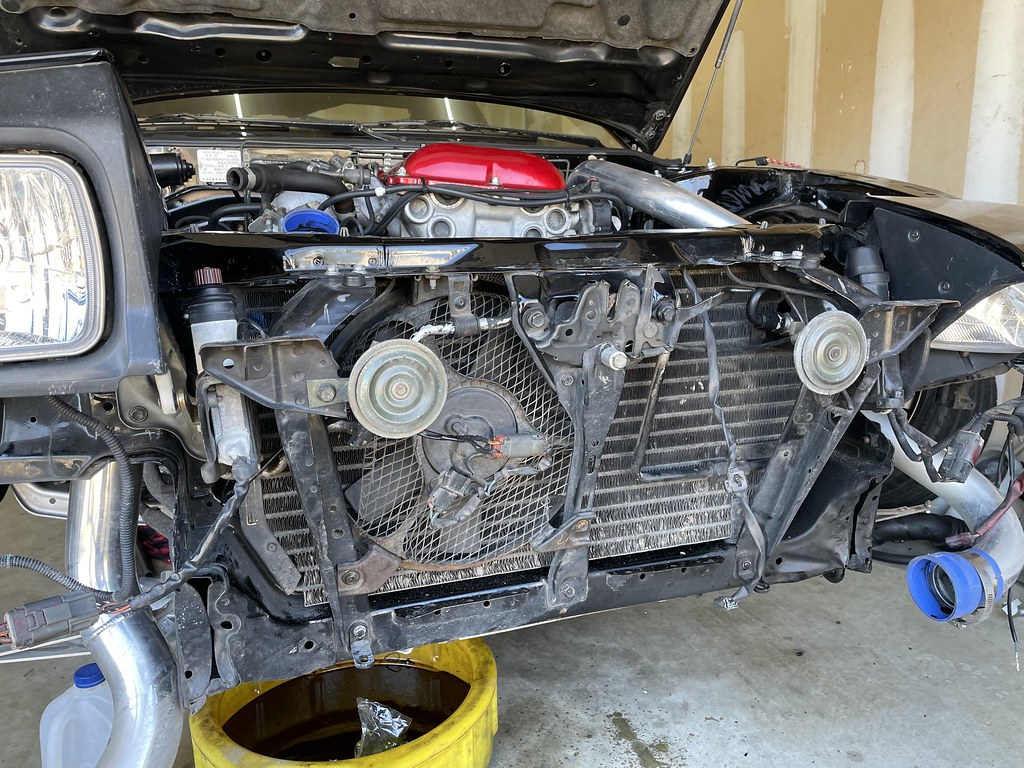
LA and Chob were kind enough to haul the Koguchi Power hood that I purchased from 180 Dave (the one that bought my friend Tim’s S13 hatch rolling chassis that I sold last fall) from Chicago to Michigan for me. After waiting a couple months, we finally got together for the game and I was able to take delivery of the hood. While I know there are a lot of things about it that bothered me the last time I owned one, it’s just one of those cool pieces that feels awesome to have in your collection. The quality definitely seems to have gotten worse since the last time I had one, but we’ll see what can be done to make it fit OK and look presentable. This is why I purchased the Cusco solid engine mounts though, since the engine needs to be lowered a bit for the hood to fit properly. I am looking forward to mocking it up on the car and seeing how it looks.

Anyway, that brings you up to speed on what’s been going on in my garage over the last two months. I am going to do my best to update this more frequently during the off season with my projects and small updates. I don’t have crazy plans for either of the cars this winter, but there are some things on my list I would like to take care of. If nothing else, it should be fun even if it’s not anything drastic. Winter can be a long and challenging time around here, but I am looking forward to making the most of it.
Thanks as always for stopping by to read the blog- I really appreciate it! Take care.
Damon